


The guns are pretty straight forward, so no real tutorial for that, I will give you my measurements though. I used 1/2" PVC pipe. (A 10 ft piece is enough for 7 guns) For 1 gun you need 2 slip elbow joints, 1 slip T joint and 1 slip cap. Cut the PVC as follows: 1x6", 2x3"(the handle and piece between T and elbow) and 2x2.5"(mouth piece and vertical piece between elbows). We spray painted ours with florescent green paint that is supposed to glow under black light.

For the belt I used some cotton webbing I had on hand and D rings. I made it to fit my 10 year old with some room to grow.
For the Bag you need:
Fabric (I used a light weight canvas):
2- 10x7
2- 7x7
9" piece of corset boning
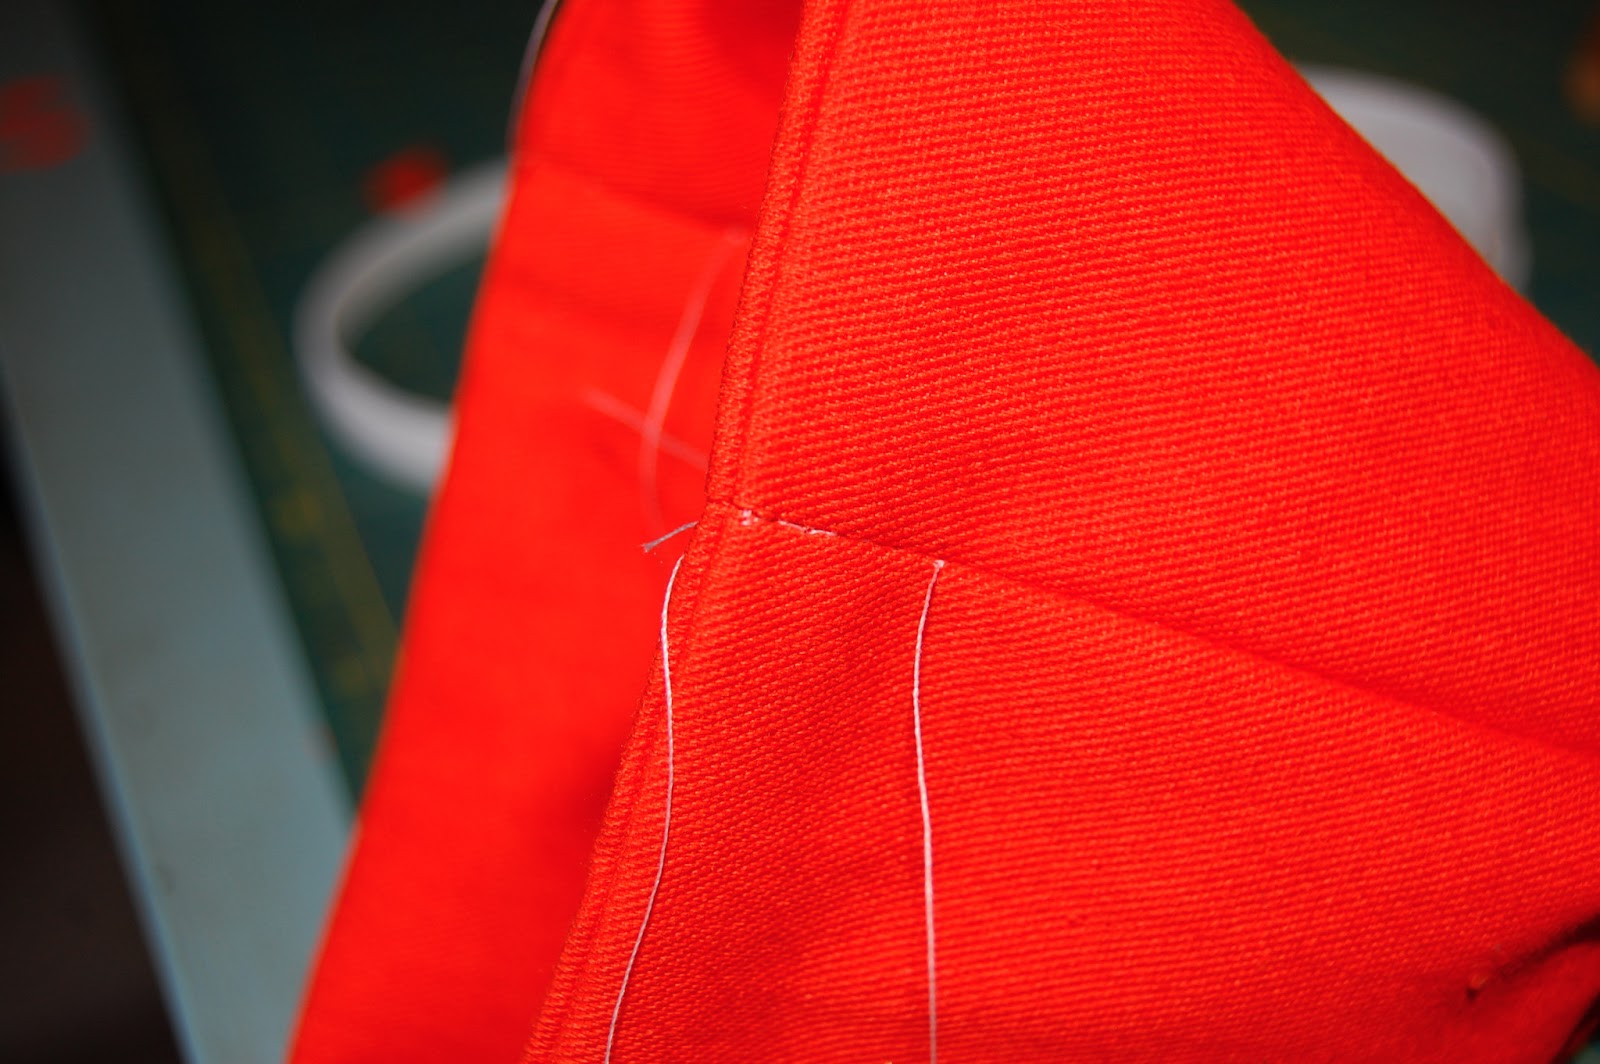
1. Lay out 1 10x7 piece of fabric. mark fabric 2" and 3.5" from each side (along the bottom edge) Pleat the fabric so that the marks match up (see bellow) and the bottom edge measures 7 inches. Pin and top stitch pleats.

2. Pin pleated fabric to 7x7 square (right sides together) and sew sides and bottom using 1/2" seam allowance.

3. Trim corners and turn right-side out.

4. Repeat with remaining fabric pieces, only leave an opening at the bottom for turning later.

5. Put exterior bag inside lining bag, right sides together, pin and stitch all the way around the tops (1/2" seam allowance).

6. Turn right-side out and press. At side seams stitch in the ditch from top edge down, about 3/4".
7. Using the hole in the lining, insert corset boning and push up to the top edge on the long side of the bag. It should look like this:

8. Top stitch all the way around the top, about 5/8" from the edge.

9. Sew up whole in lining.

10. Make two button holes about 1/2" from the seam on either side of the back (near the top of the bag). I used the largest setting on my button foot and the holes were just the right size for my 1" webbing. Use the seam ripper to open the button hopes up and slide belt through the holes.

11. Go get some mini marshmallows and have some fun!


No comments:
Post a Comment