


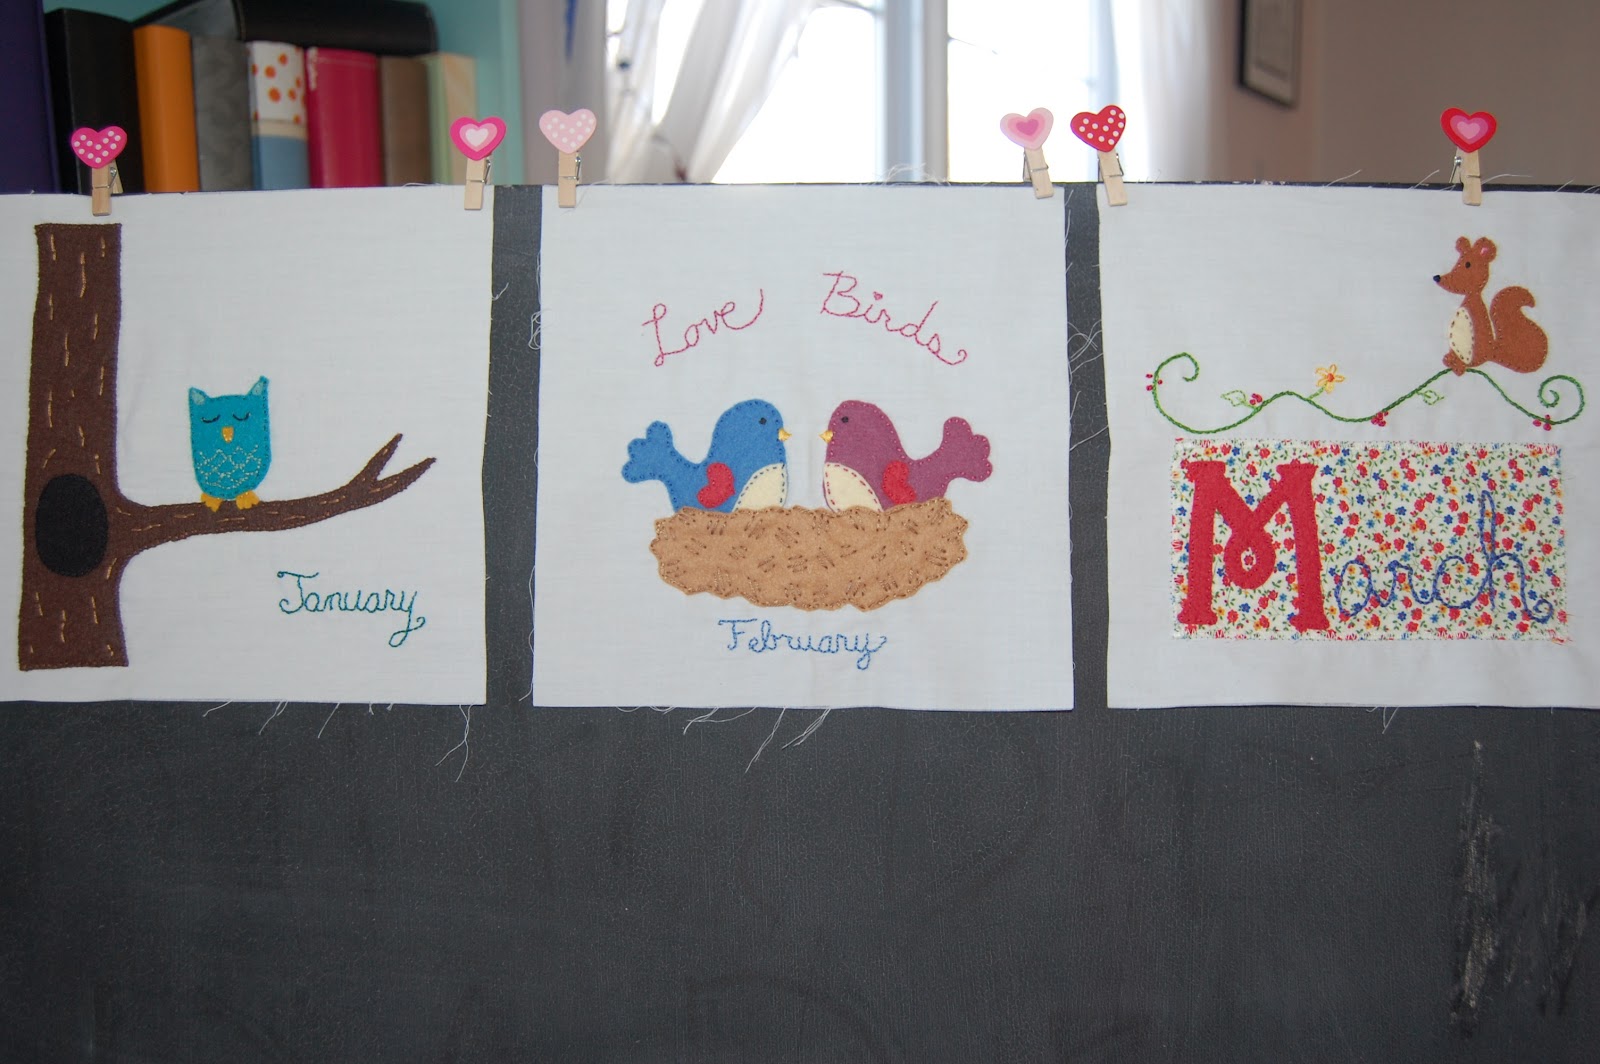
As always, if you stitch up your own version of my pattern I would LOVE to see it! Please share pictures in my Flickr group! And feel free to ask any questions about any of the patterns and I will answer them in the comments. Happy stitching :)


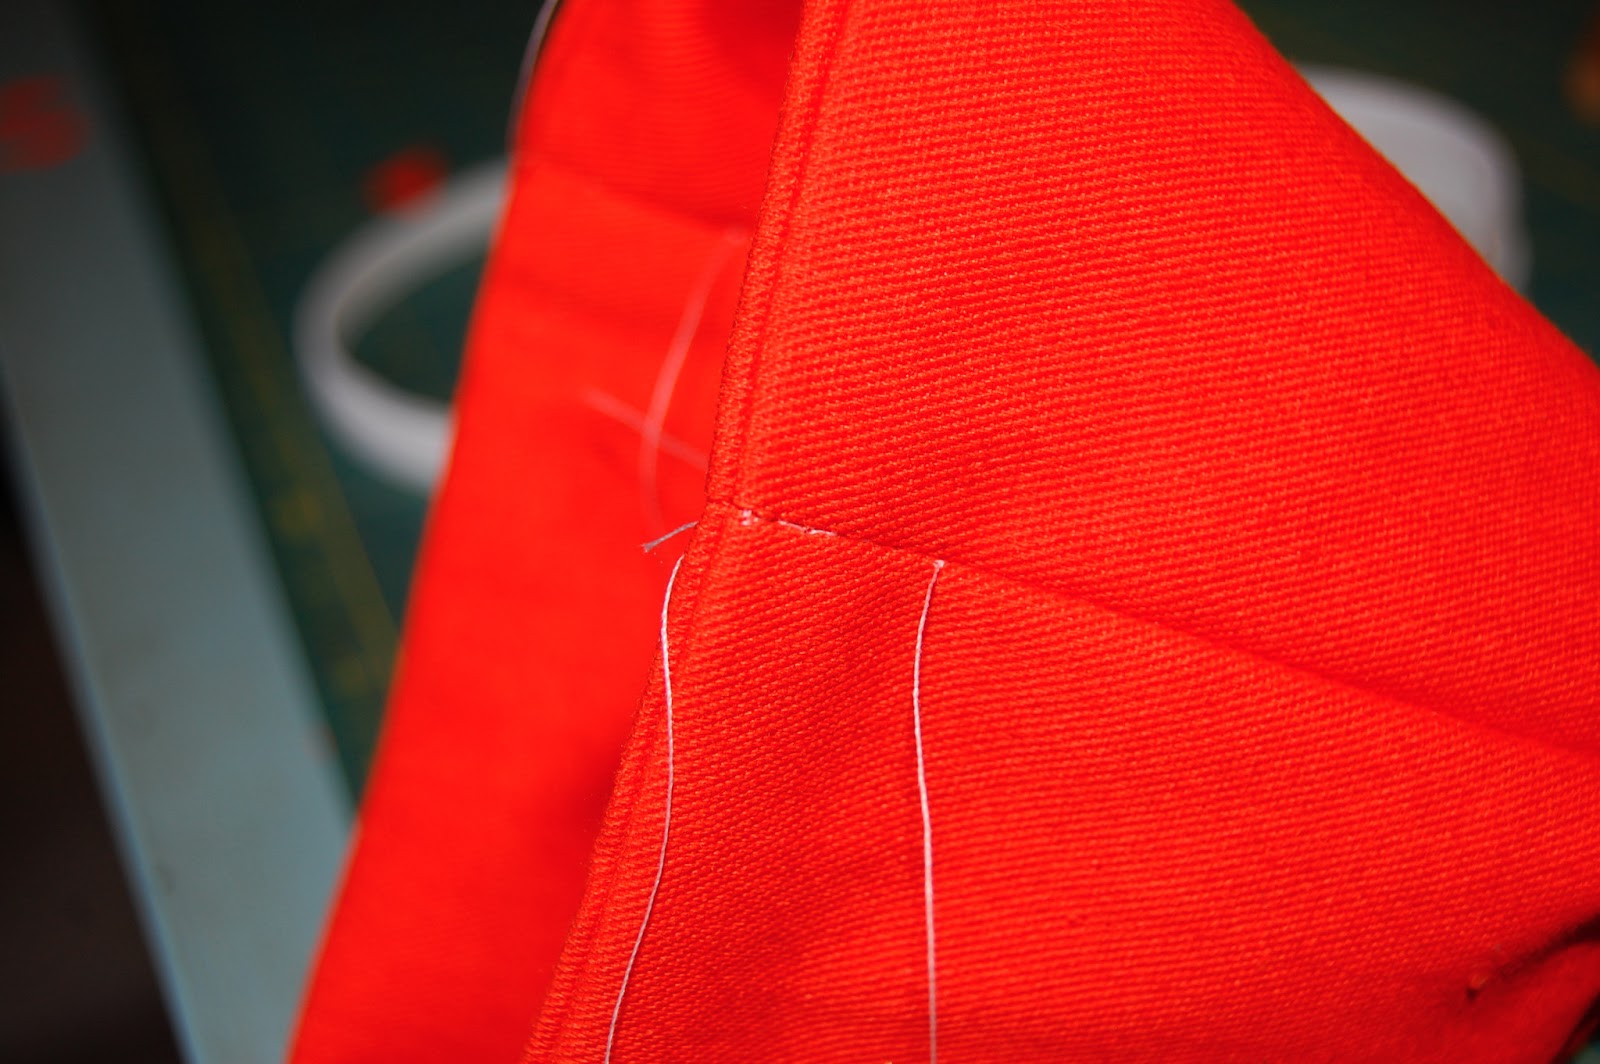


 Stack two 9x1 pieces and stitch all the way around using a 1/4" seem allowance.


 I am happy to report that as of this afternoon all that laundry is folded and put away.
  I saw these bags of coal in the Crate and Barrel catalog and thought they would be a fun stocking stuffer for the kids, but we don't like black licorice and I knew I could easily make my own version of these little bags for only a few cents. I whipped them up while watching Harry Potter last night (I borrowed all the movies from my sister and am having my own Harry Potter Movie Marathon to catch myself up before watching the latest installment) and thought I would share a little tutorial with you all on how I made them, so here goes!


 I am going to fill these with mini marshmallows dipped in chocolate, yum!


 A couple of notes- don't be concerned when the map wrinkles up again when you apply the top coat- it will flatten again when it dries. Also, be careful with this layer as the Mod Podge does have a tendency to pick up the color and smear it if you are not careful and use too much MP or too many strokes.
